Before becoming a college professor and developing my Early Childhood Education program, I was privileged enough to teach infants, toddlers and preschoolers at a Reggio Emilia-inspired laboratory school at Virginia Tech. While a teacher at the school, I worked deeply with the Reggio philosophy and was able to see what can happen when teachers listen to children and follow their lead in their learning. I was also lucky enough to have some of my research published in a text written by three of my mentors at the school: Teaching as Inquiry: Rethinking Curriculum in Early Childhood Education. It is a wonderful book about teaching pre-service teachers the art of inquiry and seeing teaching as an art that supports the learner in multiple ways. The text centers around the philosophies of Reggio Emilia, as well as Dewey, Vygotsky, Piaget, Gardner and others.
As part of the Reggio Emilia philosophy, the infants, toddlers and preschoolers at our school often worked with light in different ways, and we all had light tables in our classrooms. While there are specific manipulatives (Overhead Attribute Blocks for example) that reflect light well on light tables, I have found that you can put just about anything on them that is slightly transparent. Using the light table was such a strong sensory and interactive experience for the children, so I decided that both my undergraduate early childhood students and my own children should have one. It was VERY easy and inexpensive to do. Here’s how I did it:
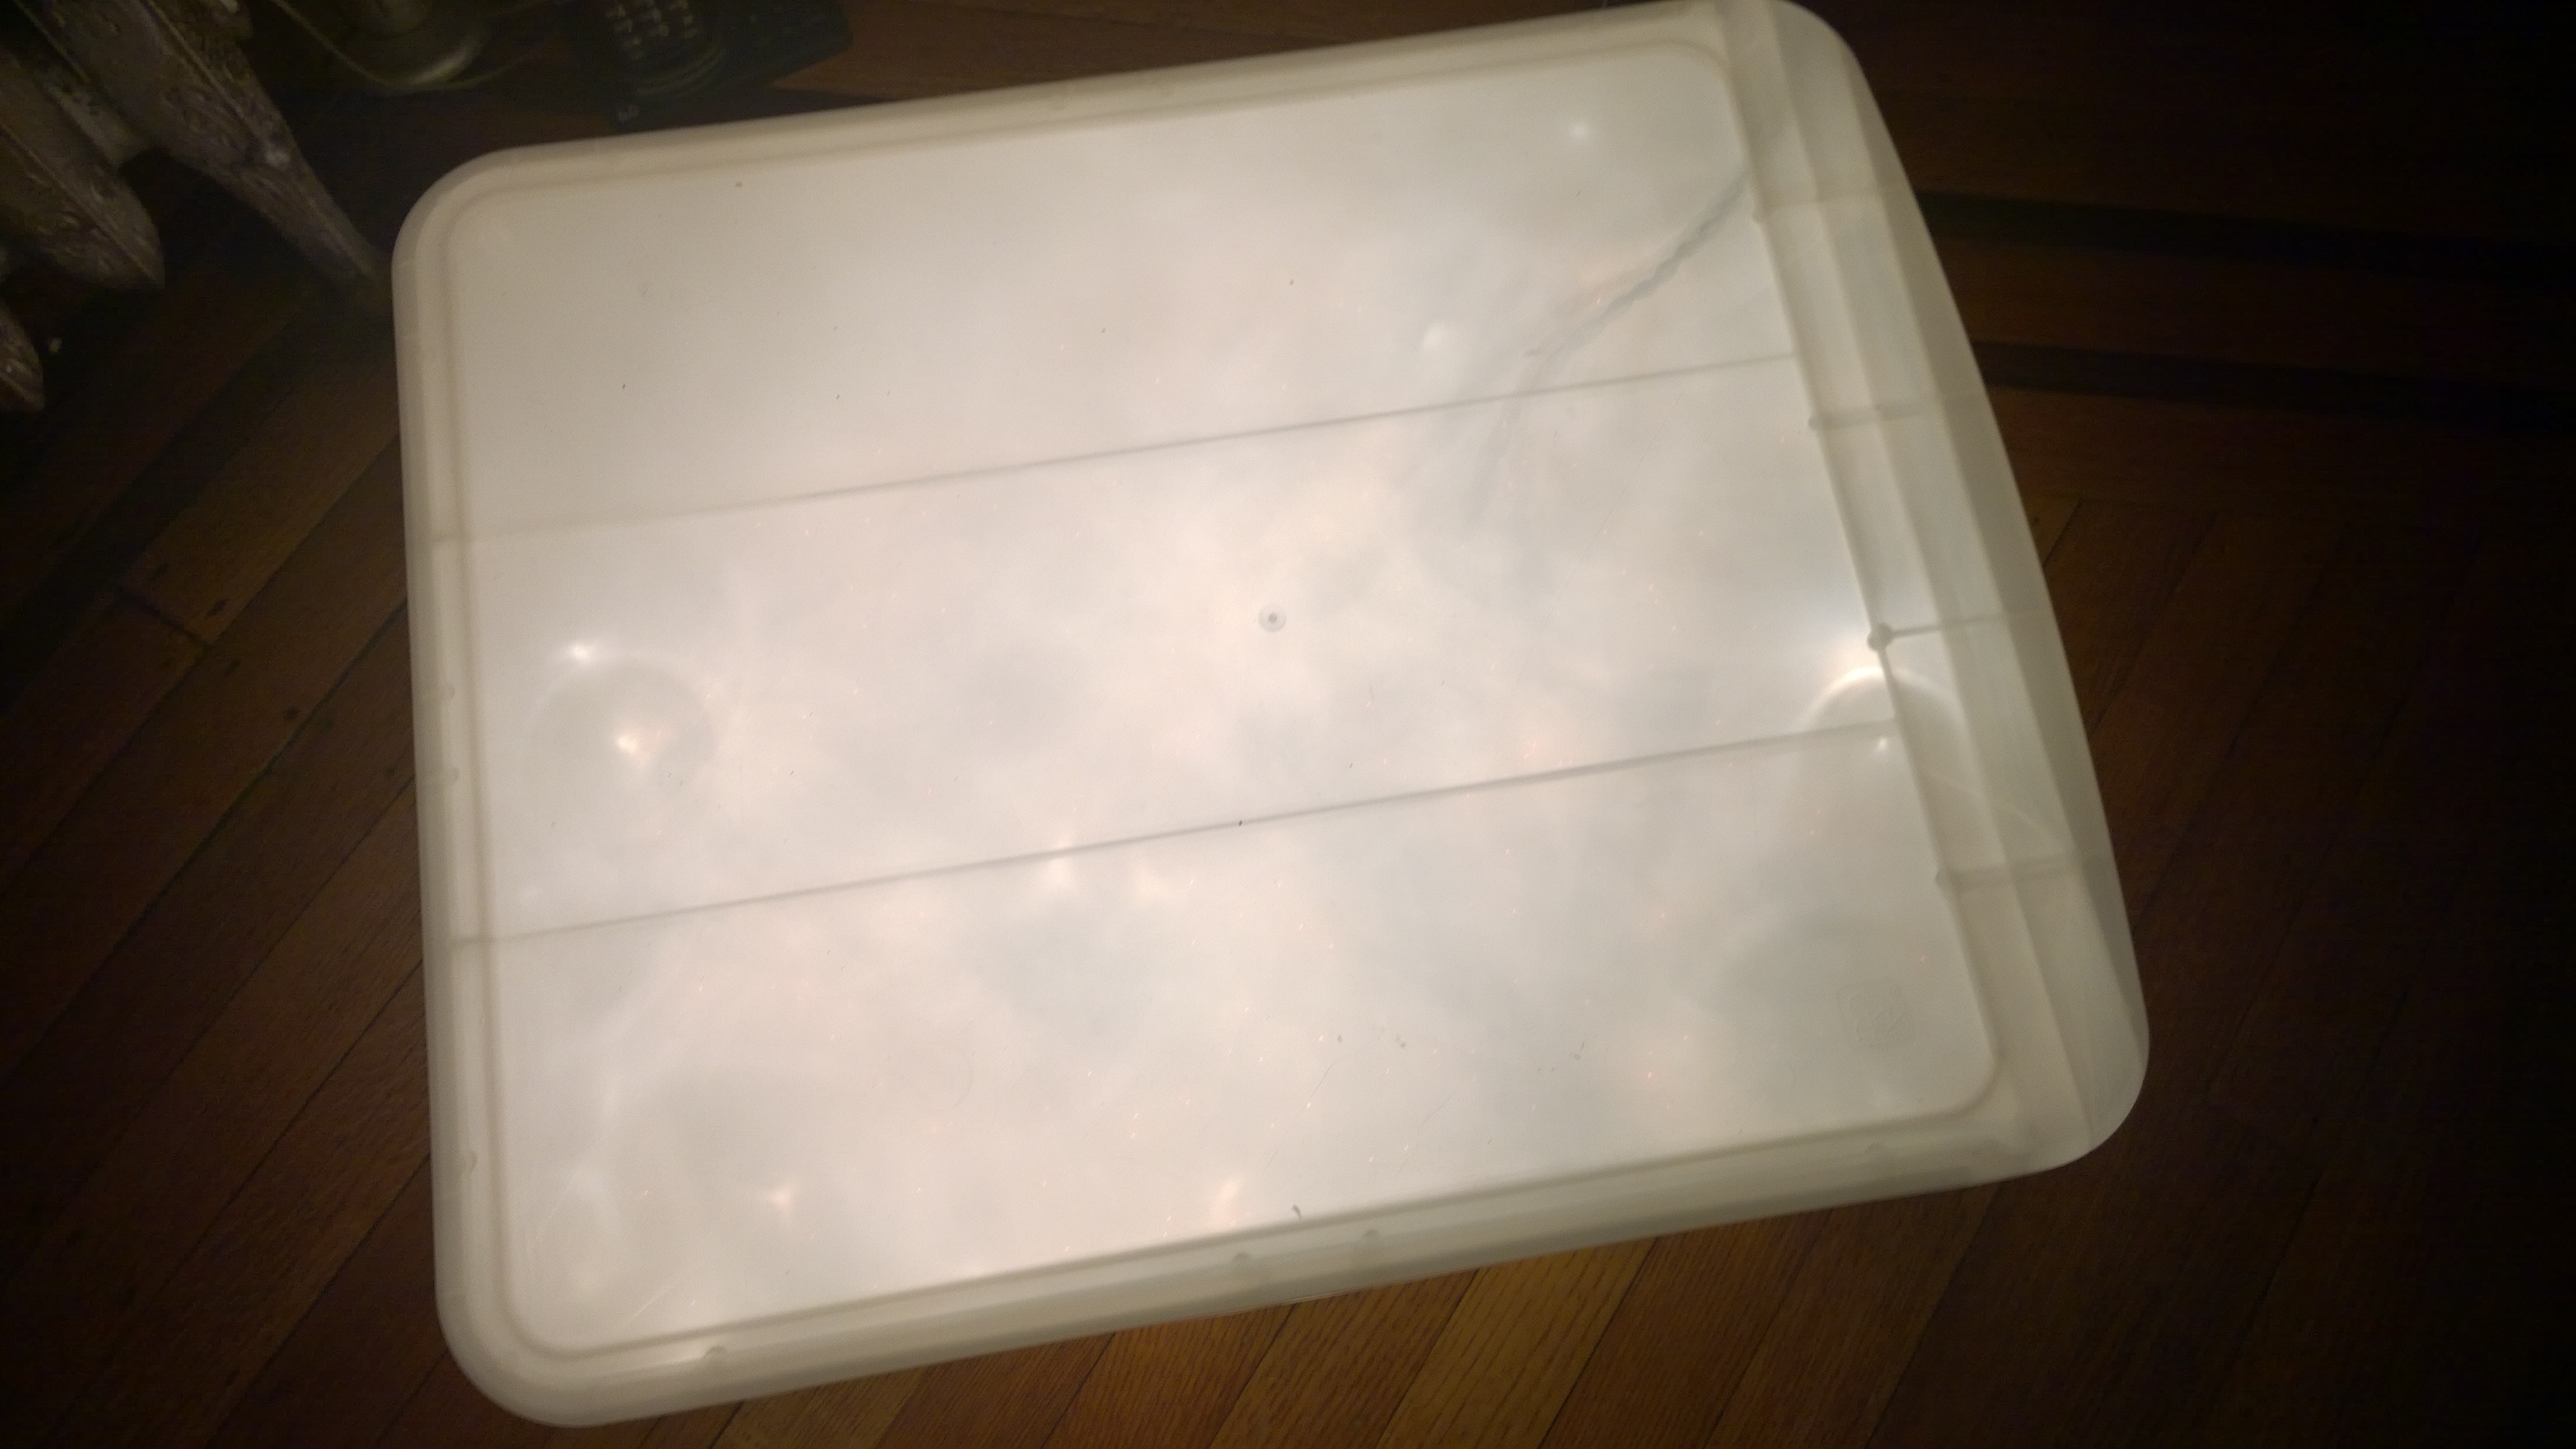
First you need to find a plastic bin or plastic drawer that has a “foggy clear” look. You don’t want a totally clear/see-through container. I used the clear version of this one. It’s a good one for this type of project because the edges of the top curve up, so objects can’t roll or slide off.
Next you need to add the light. You have two options for this.
1. Buy at least 6 tap lights. You can find them at Home Depot. They are powered by 4AA batteries each:

Put the tap lights in the drawer:

“Tap” them on and close the drawer.

Voila! Light Table!

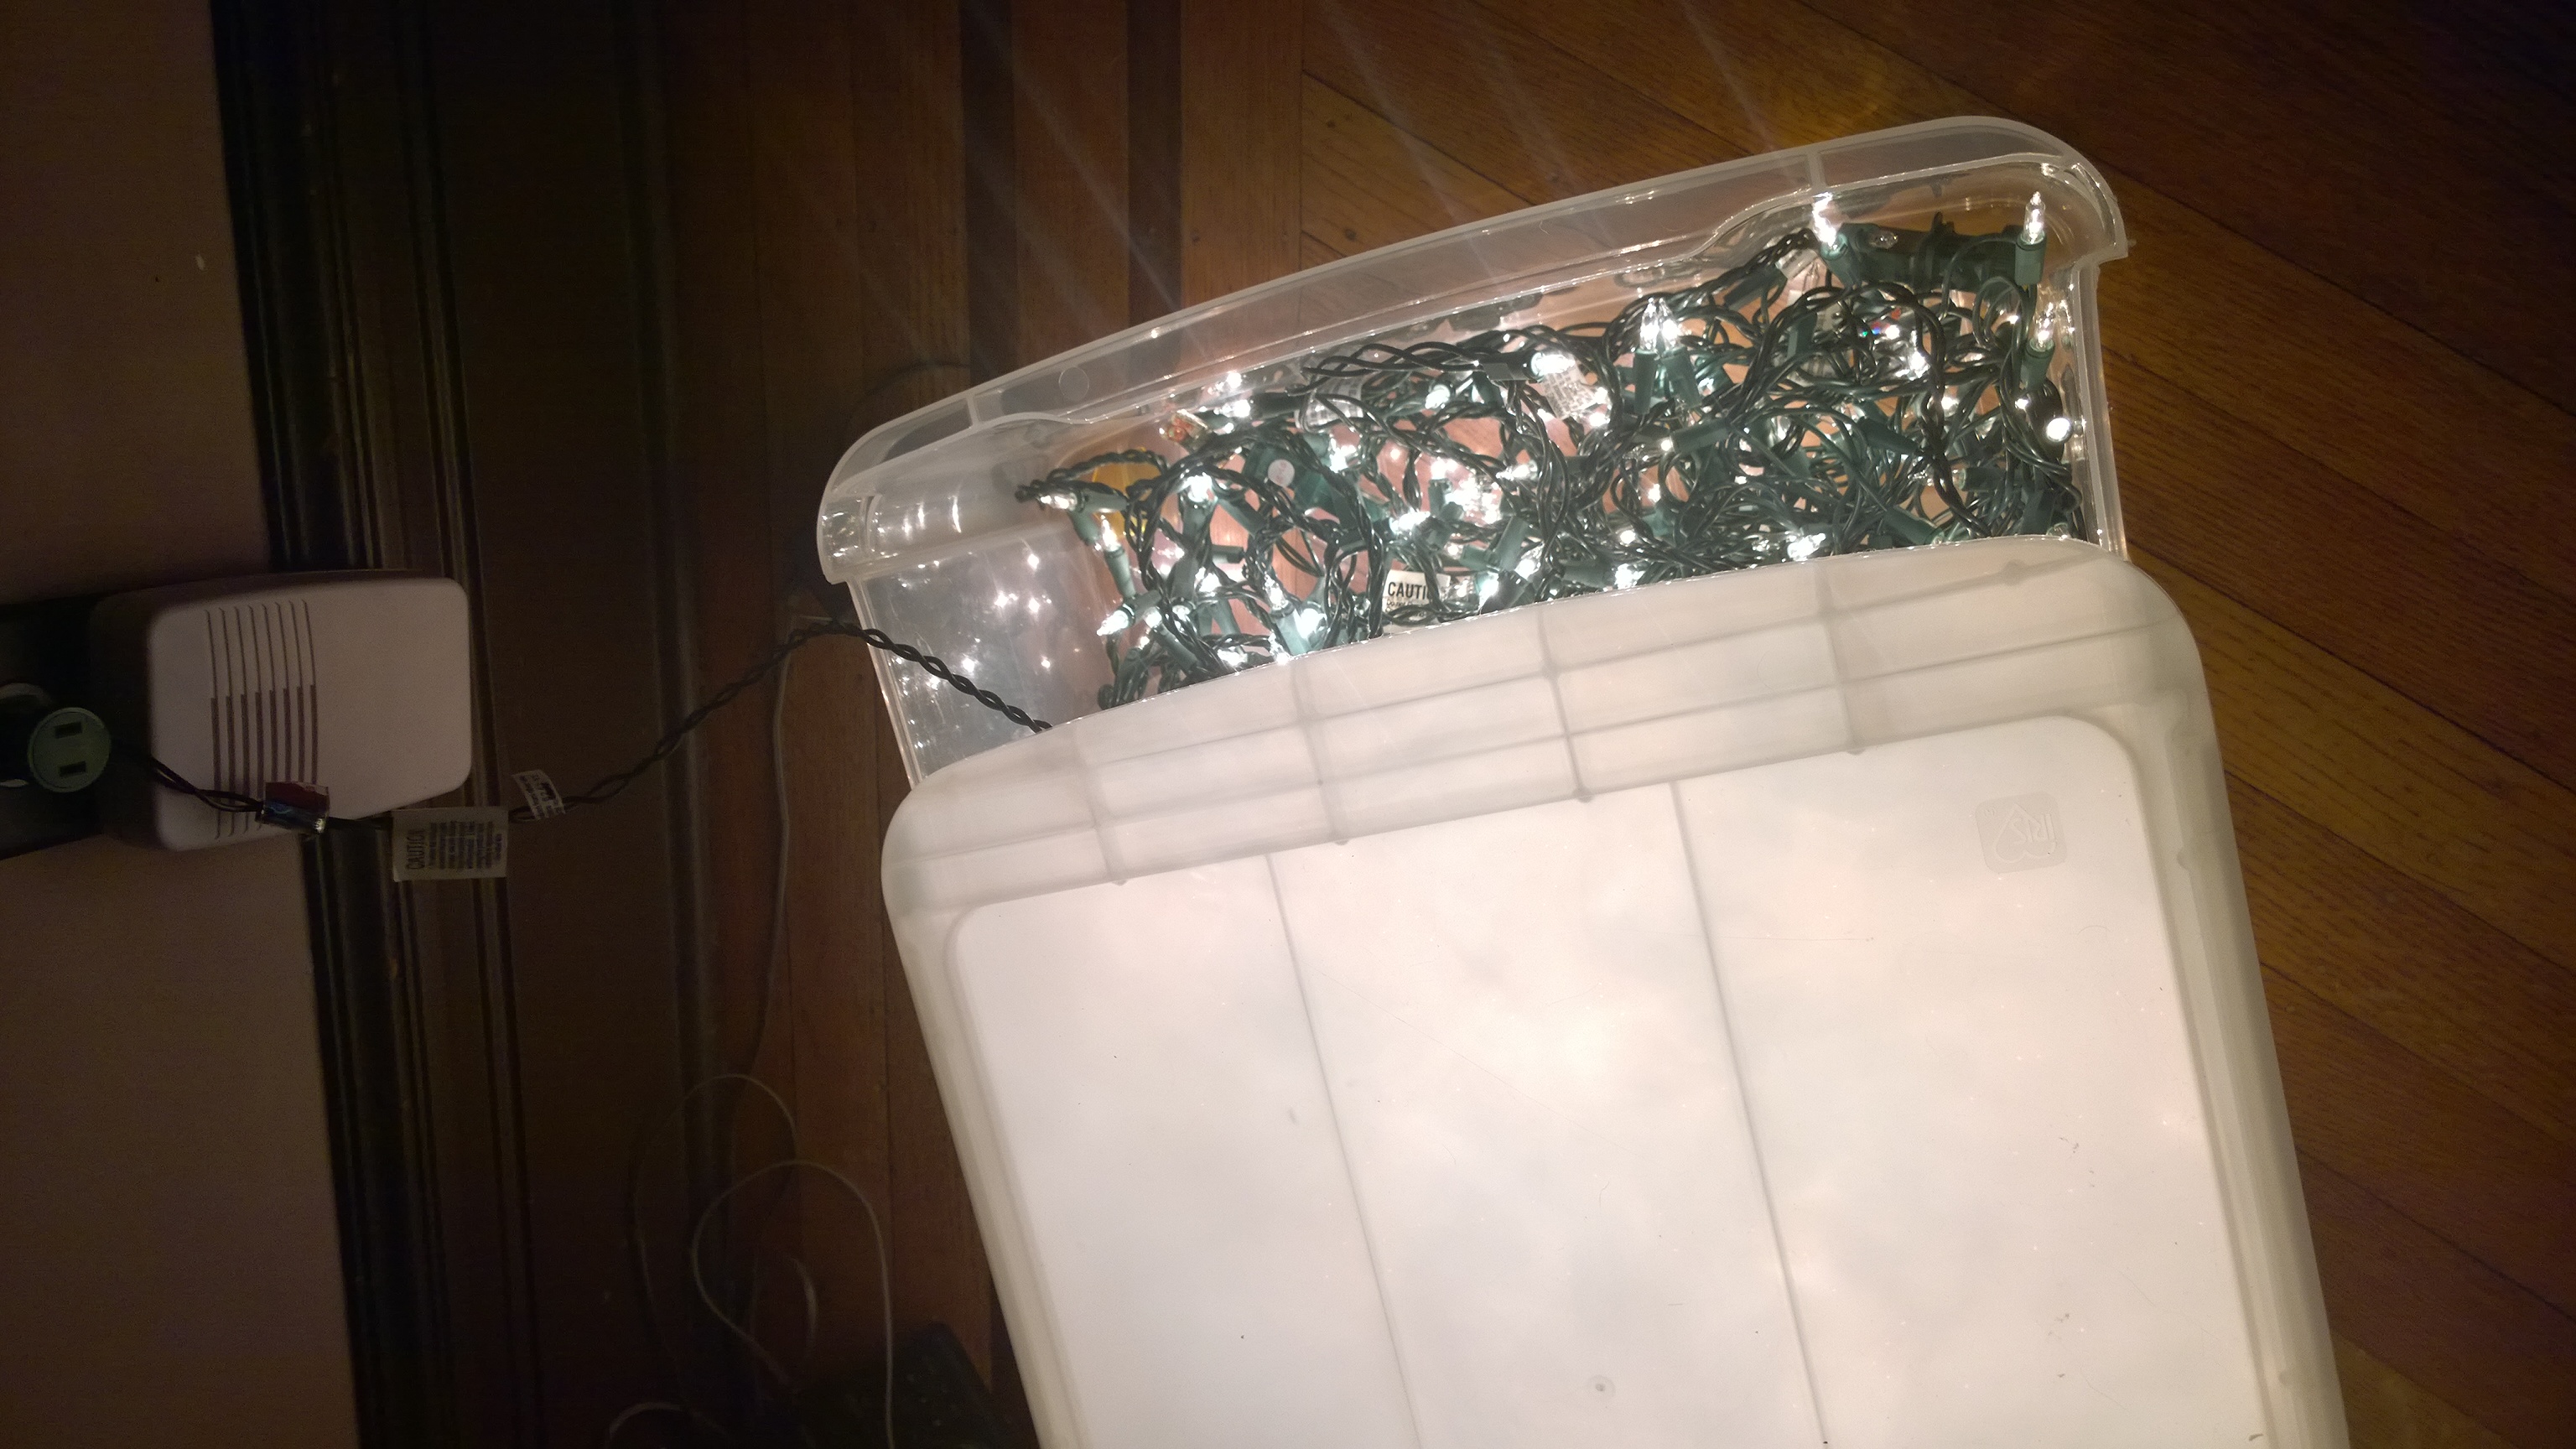
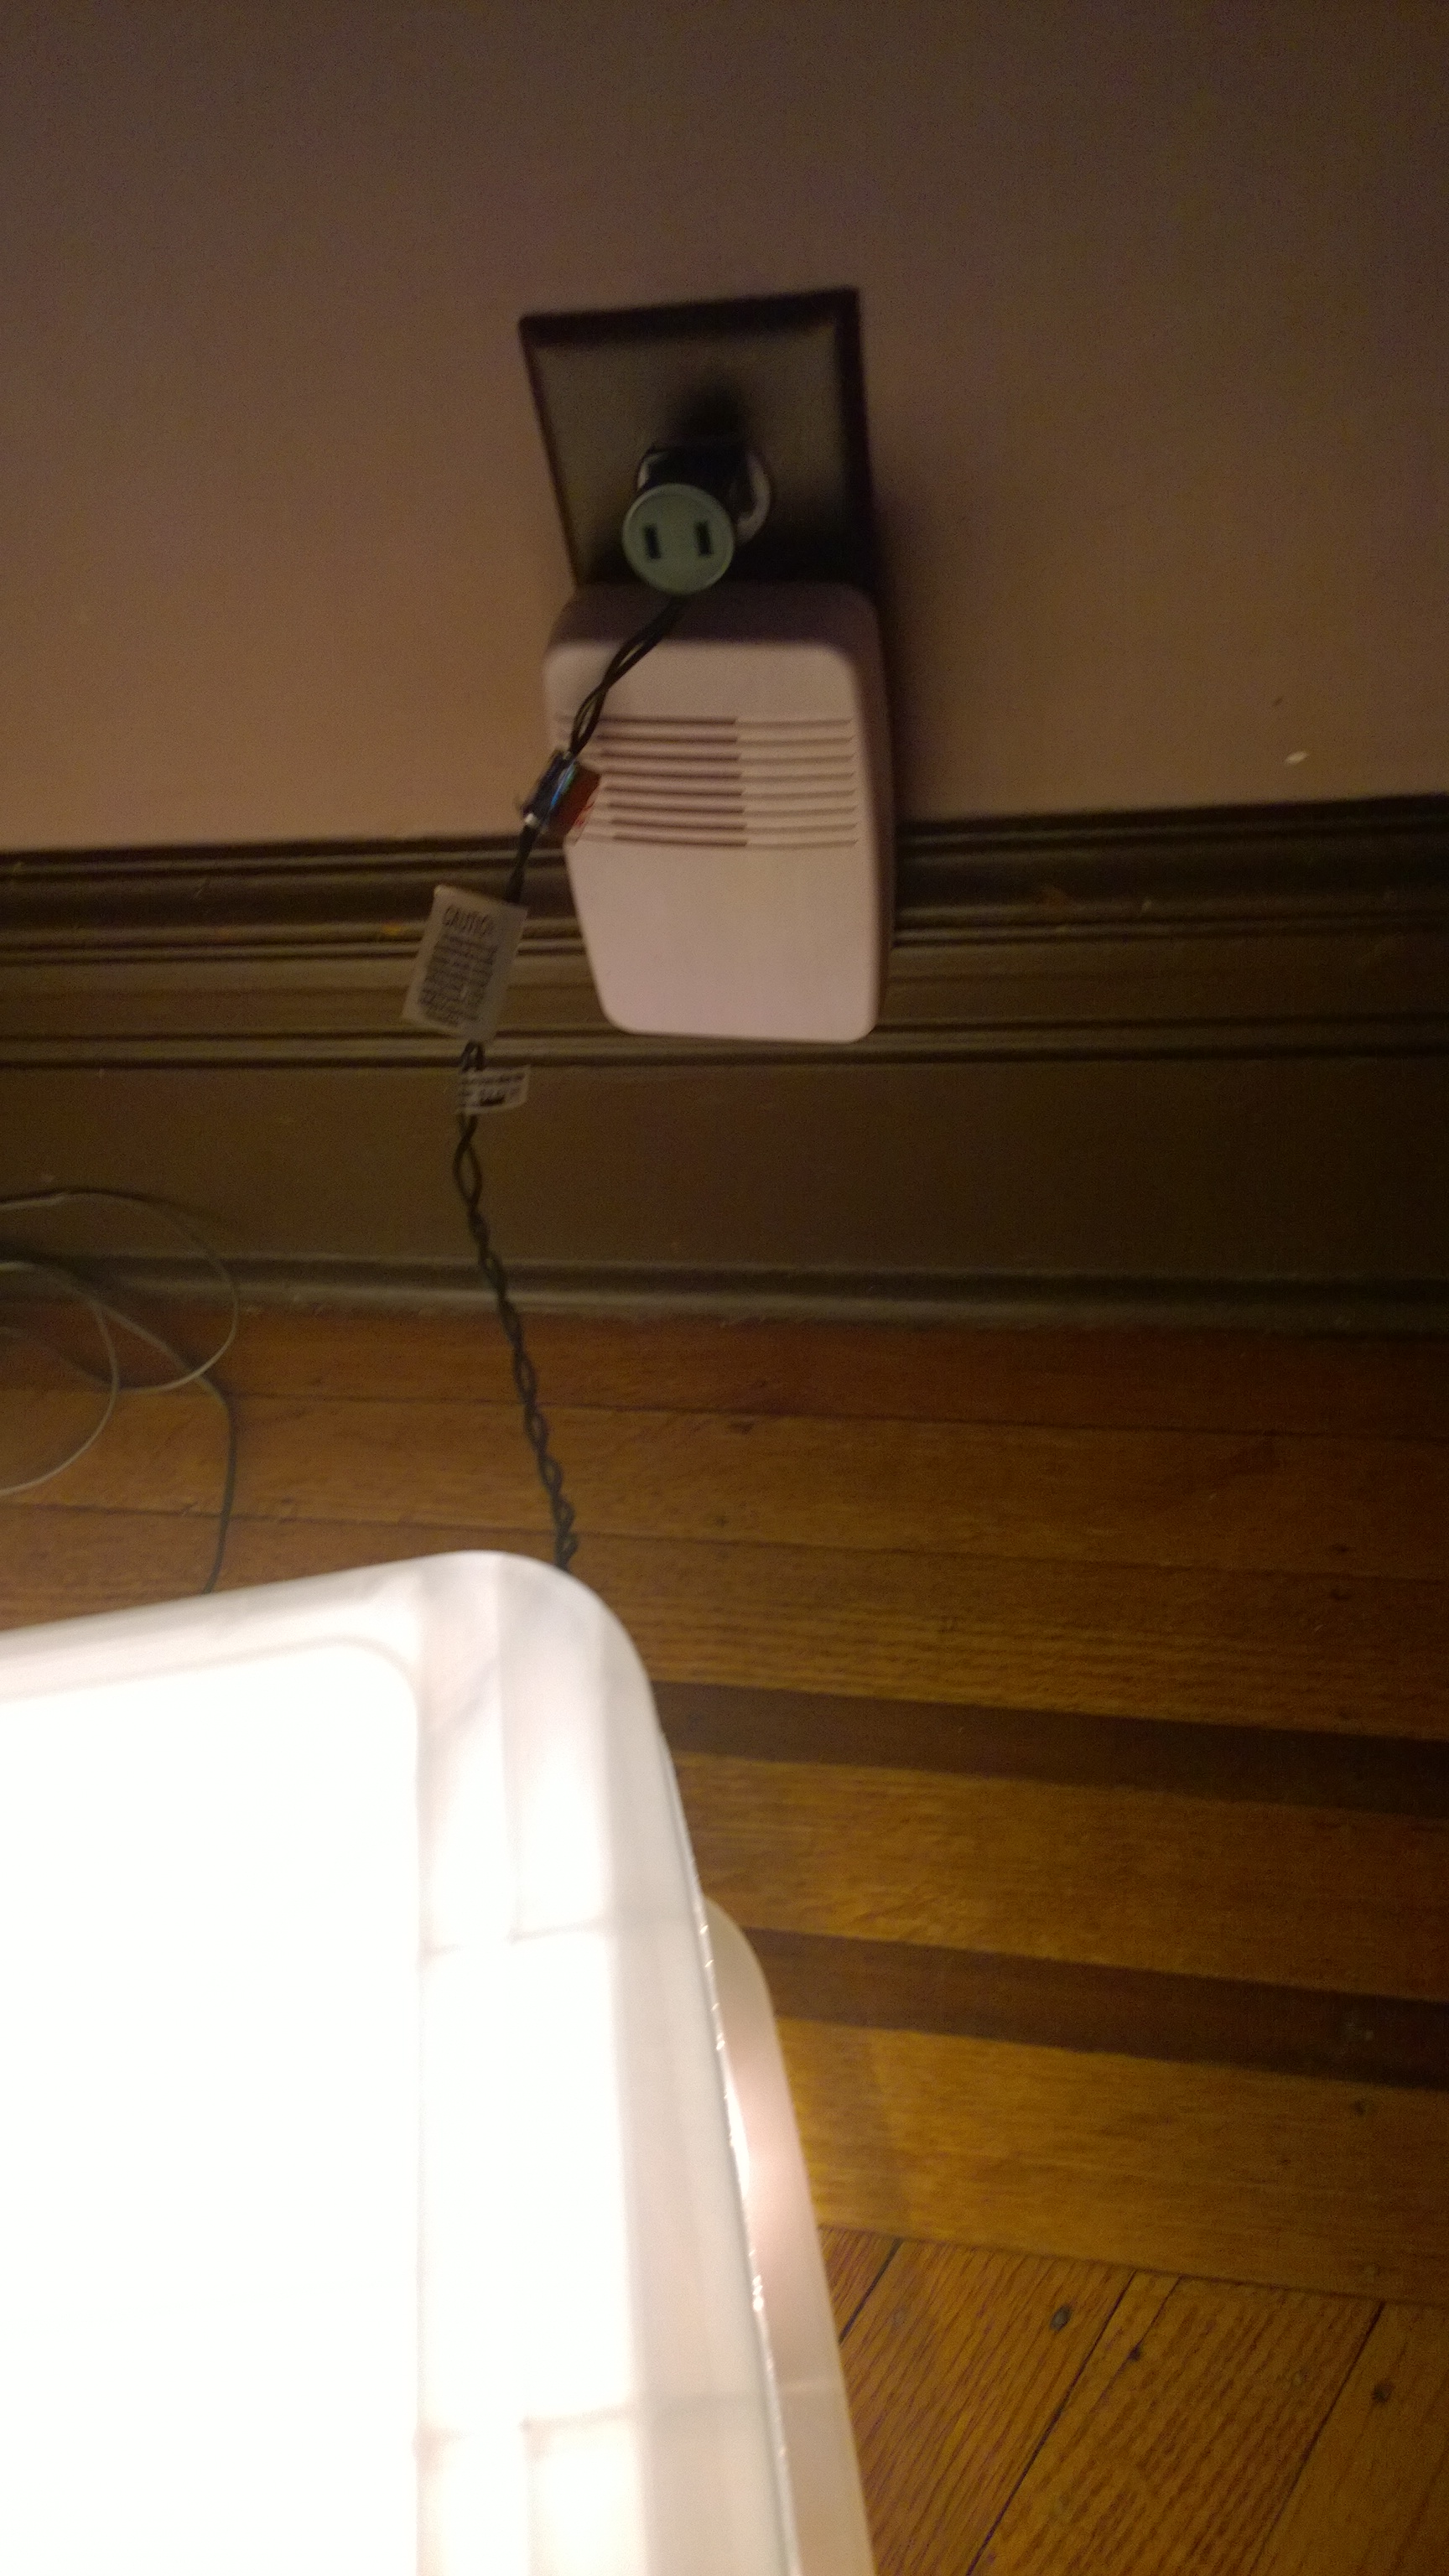
2. Buy 2-3 strands of white Christmas lights. Put them in the drawer with the end of the wire sticking out and plug it in. The drawer will close on the wire.
 Note: I found that both types of lighting worked well, but the tap lights would die out quickly. Replacing 16 batteries is expensive! I prefer the white Christmas lights option because they last a long time, and you can leave the table on for long periods of time without worrying about them dying.
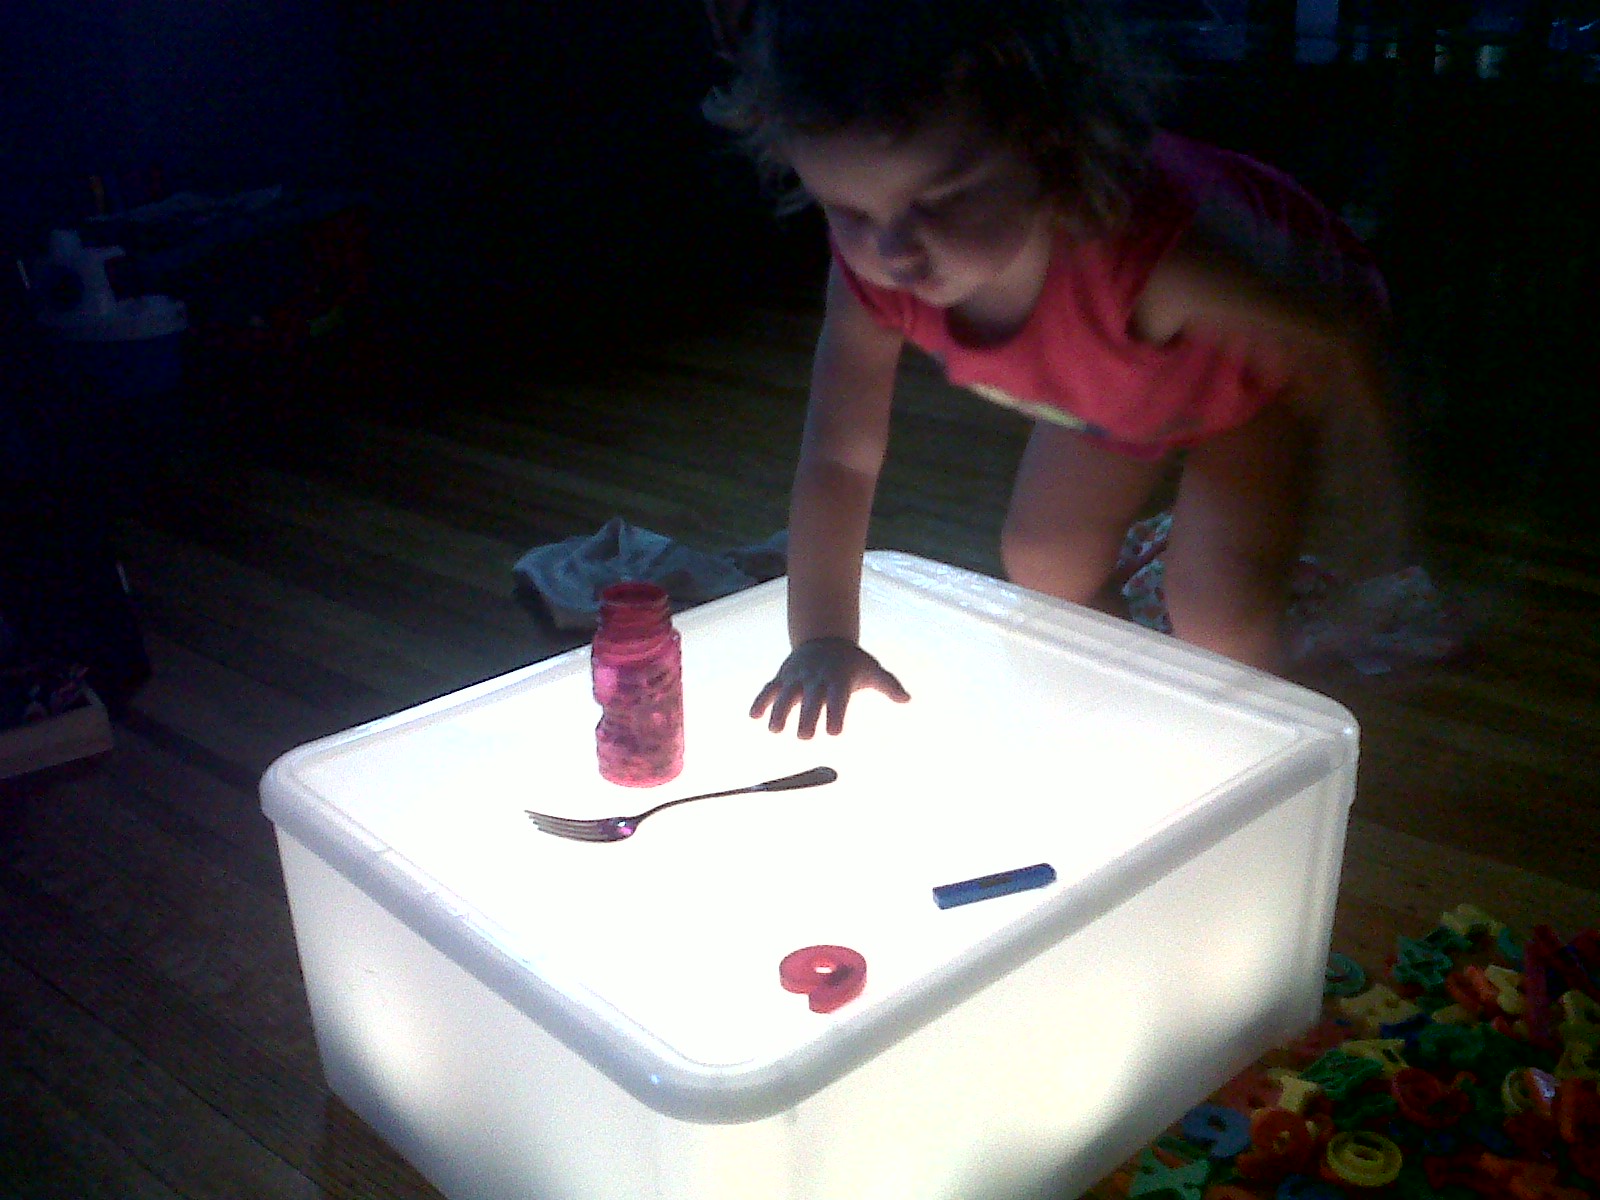
So what did we do once we had the table lit up??
We found everything we could in the house that would illuminate on the table – plastic letters, glass pieces, plastic silverware, a beaded necklace, a bubble container, and so on…. Miss H enjoyed looking at an object before she put it on the table and then after it was on it. We talked about the differences in appearance and mostly just played around with what we thought might look cool on the table. She also enjoyed seeing her name light up on the table.


Glass and plastic jewels also illuminate beautifully on the table. We explored the colors and shapes of the jewels and how they all looked different on the table. Then we made some patterns and shapes with the different jewels. Finally, we explored what jewels roll and which ones don’t and what their shape had to do with it. This is where the curved up edges come in very handy – nothing rolls off.

Overall, this is a great visual sensory and creative experience for children as they study the different objects they place on the table and how they look when they are illuminated with light. I am looking forward to introducing it to my undergraduate students and seeing what they do. It also incorporates math concepts when you make patterns and shapes with the jewels. Make a pattern or shape and ask children if they can identify it. Then see if they make their own or add to yours. Using a plastic bin of the size makes the light table versatile – babies can crawl to it and pull themselves up to play, and toddlers and preschoolers (and undergraduate students) can either work with it on the floor or put it on a table. Try it and let me know what experiences evolve! By the way…the Reggio Emilia Approach to Early Childhood Education is a wonderful way to look at ECE. It is very art-based and focuses on the children as active participants in their education. If you want to learn more about the Reggio approach, check out The Hundred Languages of Children: The Reggio Emilia Approach Advanced Reflections, Second Edition.
Safety Note: The top of the table will get hot if left plugged in for a long period of time. If it starts to feel hot to the touch, unplug the lights for a few minutes to let the table cool off.
Thanks for the tutorial. I want to build a light table for my preschool class and was searching for some inspiration!
You’re welcome! Enjoy!